本文介绍了在 Android 客户端中进行真机预览卡片的操作流程。
前置条件
已经开通并接入 mPaaS。
已经安装蚂蚁动态卡片 AntCubeTool 工具。更多详情请参见 关于 AntCubeTool。
已经按照 快速开始 完成接入流程。
操作步骤
添加真机预览依赖。
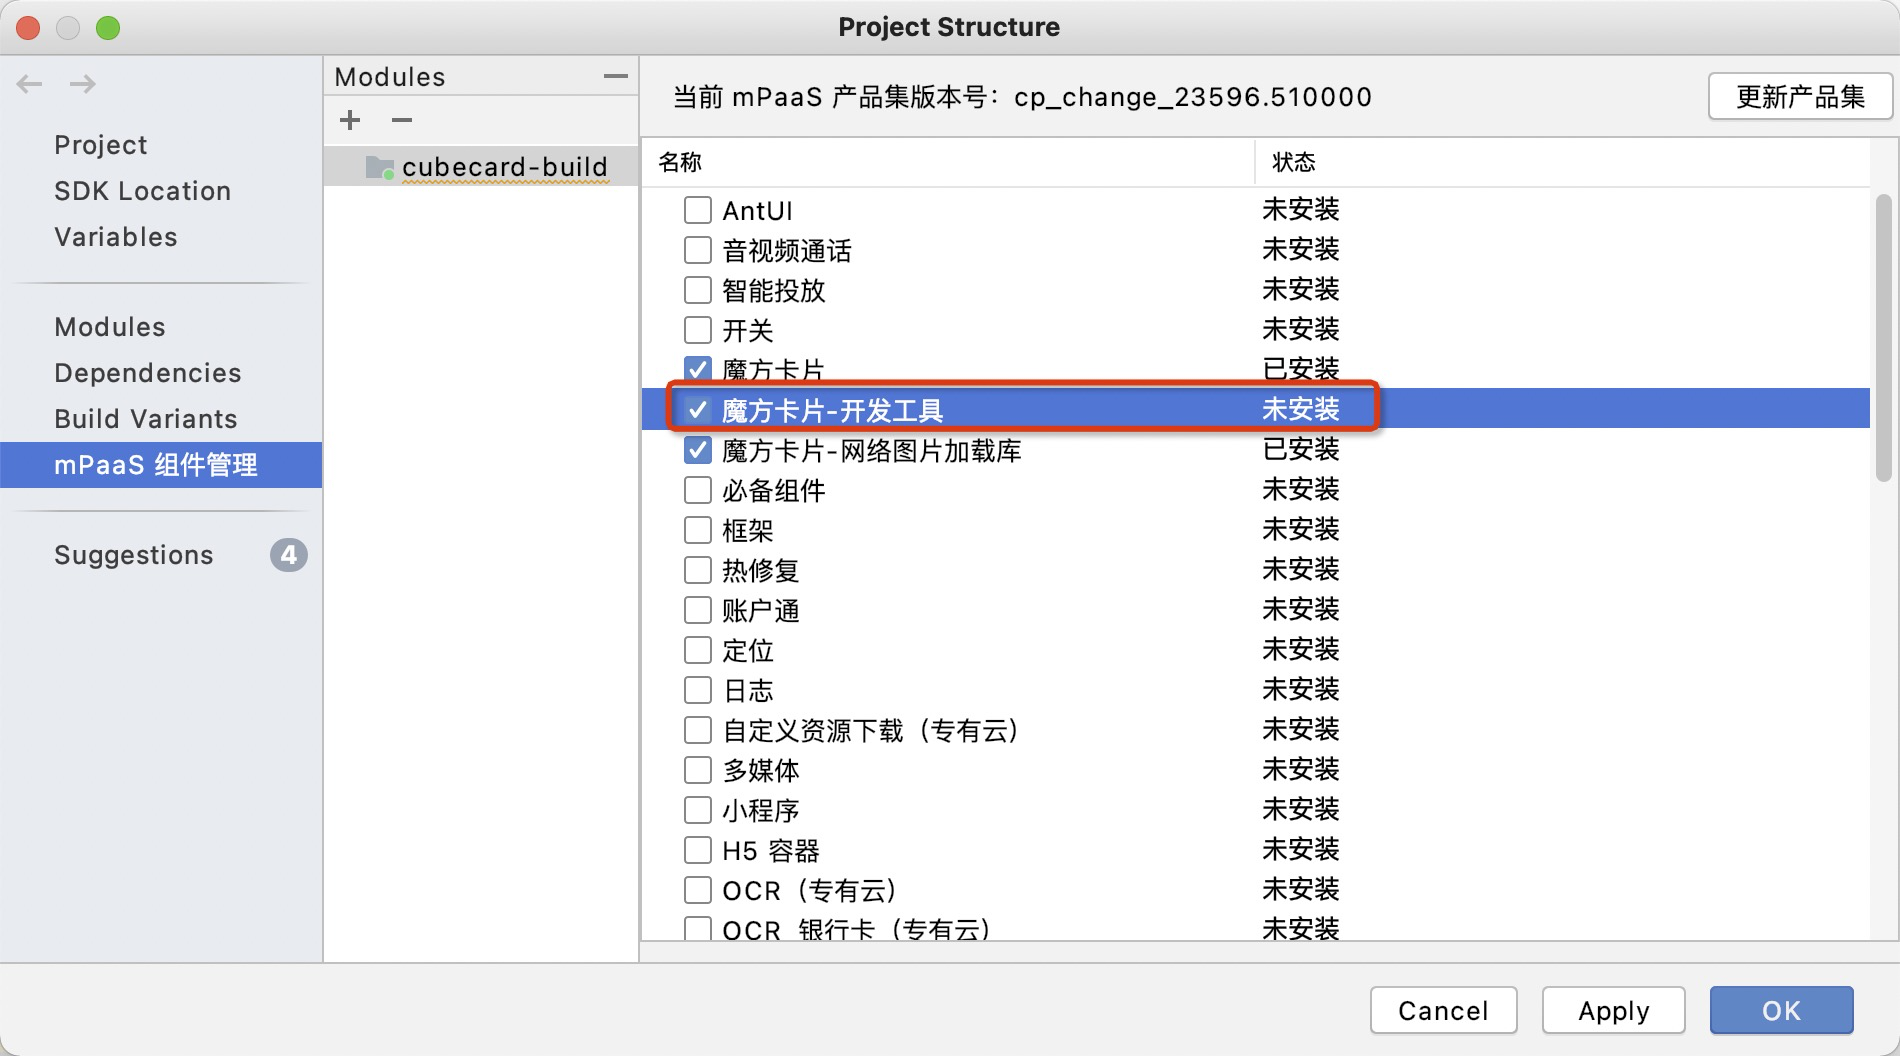
添加 蚂蚁动态卡片-开发工具 组件。

在项目主 module 的
build.gradle中添加第三方依赖,如果有冲突可以以您的依赖版本为准。dependencies { ······ implementation "com.squareup.okhttp3:logging-interceptor:3.12.12" implementation 'org.jetbrains.kotlin:kotlin-stdlib-jdk7:1.3.72' implementation "com.squareup.okhttp3:okhttp:3.12.12" implementation 'com.squareup.picasso:picasso:2.5.2' implementation 'org.simple:androideventbus:1.0.5' ······· }
通过命令行启动本地调试服务。在工程的路径下,运行指令开启服务。在 macOS 和 Windows 上开启服务的指令如下:
macOS:
act prepare && act serverWindows:
act prepare | act server执行指令后,在终端会生成二维码。
启动客户端并扫码,建立连接。终端会提示设备已连接。
CubeCardDebug.openScanner(activity);说明由于是建立内网连接,因此如果 targetVersion 大于 27,需要进行降级,或者在 manifest 里配置
android:usesCleartextTraffic="true"android:networkSecurityConfig="@xml/network_security_config"以及对应的network_security_config.xml。<?xml version="1.0" encoding="utf-8"?> <network-security-config> <domain-config cleartextTrafficPermitted="true"> <domain includeSubdomains="true">${本地 IP 地址}</domain> </domain-config> </network-security-config>扫码完成之后,在客户端上会有 toast 提醒:Cube Socket: 已连接
终端也会提示已连接。
预览。
修改卡片代码,然后调用
act build完成编译。再调用act preview,将编译好的内容推送到客户端上。
该文章对您有帮助吗?